Tag Archives: preserving
Making Apple Cider Jelly
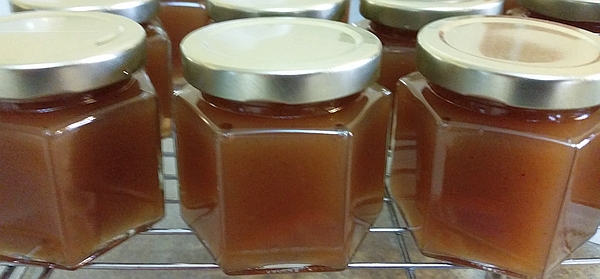
Apple Cider Jelly
Growing up, apple jelly on a toasted English muffin was one of my favorite breakfasts. When I discovered a recipe for apple cider jelly on the internet a few years ago I knew it was going to be my new favorite. I bought a gallon of fresh pressed cider and got to work. It took me several tries to get apple cider jelly right, and we ate a lot of ice cream with apple cider topping (code for jelly that didn’t set up). Apple jelly from the crab apples on my ancient tree was much easier. I couldn’t figure it out.
A neighbor came to pick apples and we talked about my apple cider jelly problem compared to the simple, dependable apple jelly. “Do you simmer peels in the pot,” she asked? I didn’t. I learned that day that there’s a lot of pectin in apple peels. I peel two apples, simmer the peeling in the cider, and remove the peels before pouring the jelly into jars. Problem solved.
Apple Cider Jelly Recipe
4 cups apple cider of good quality
3 cups sugar
2 oz pectin
Peelings from two medium apples
(Optional) 1-2 teaspoons apple pie spice or a combination of cinnamon, nutmeg, cardamom
Add the peels to the cider at the start.
Mix spices into sugar if you’re going to make spiced apple cider jelly.
Methods of making jelly and jam vary between brands of pectin. Follow the directions provided in your pectin. Remove peels before pouring the jelly into jars.
 Old school canning told us to fill the jars, cover the jelly with paraffin wax and allow to cool before adding a cover. Another formerly accepted method didn’t use paraffin. We tightened the jar lid and turned the jars upside down until they sealed. We know now that these aren’t the best methods. You’ll find great information including how to hot water bath your jelly in Preserving With Pomona’s Pectin by Allison Carroll Duffy.
A homemade biscuit or English muffin with a pat of homemade butter and jelly or jam is one of my favorite breakfasts in winter.
A Taste of Raspberry Jam
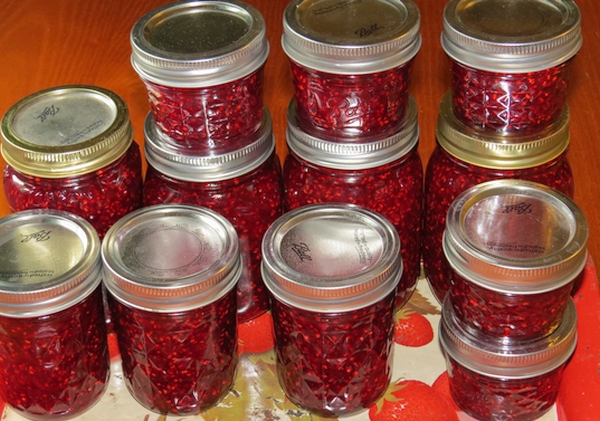
Raspberry Jam
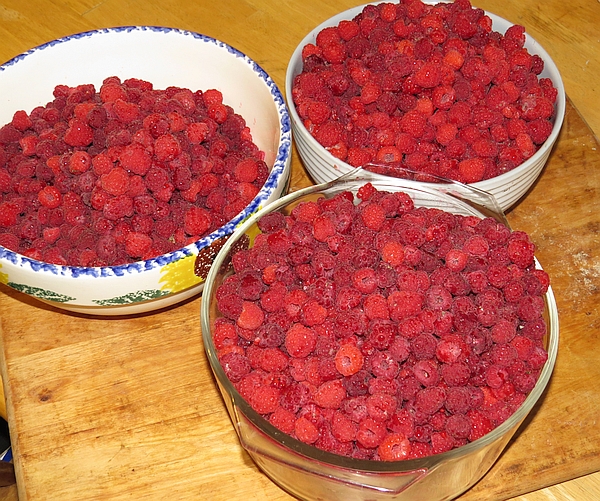
 Mid-July, raspberry time. The canes are loaded, it’s been a good year for raspberries. Picking gallons at a time barely makes a noticeable dent in amount of berries to be picked. It’s time to make raspberry jam.
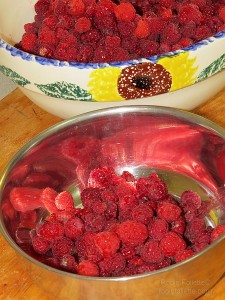
You’ll need:
- Two quarts of fresh raspberries
- 1/3 cup, rounded, bulk pectin
- 5 to 6 cups of sugar
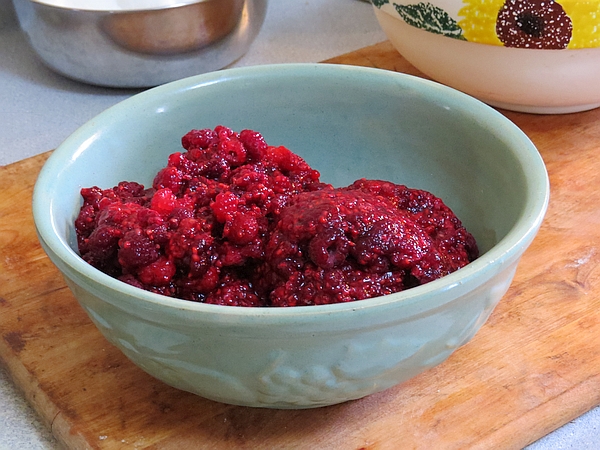
Lightly mash raspberries, one cup at a time. You’ll have five cups of mashed berries when you finish.
Stir in pectin.
Move mixture to an eight quart pan and heat to a simmer over medium heat. When simmering, stir in sugar. Bring to a boil that can’t be stirred down and continue to boil for 60 seconds, stirring constantly.
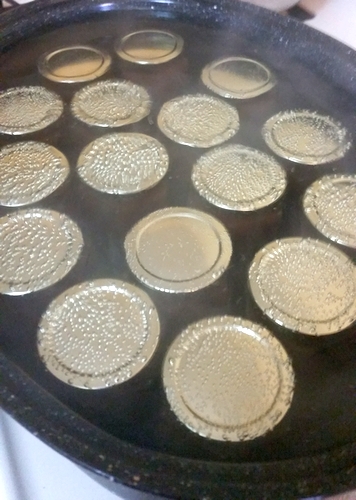
Ladle into hot, sterile jars. Wipe the rim clean with a damp cloth. Place sterile lids and rings, leaving a 1/8″ air space, and hot water bath as recommended.
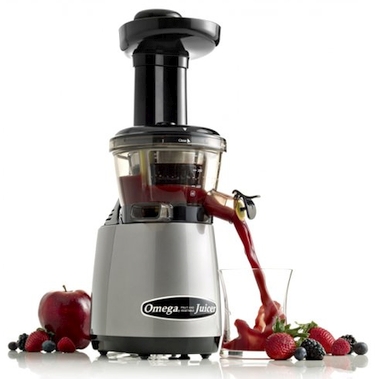
If you’d like to make jelly you can use one of our juicers to speed the process.
If you’d like to do this by hand, freeze the berries, let them thaw, and strain the seeds out. Frozen berries are much easier to juice than fresh.
There are so many things to do this time of year that being able to freeze the berries and make jelly later is a great convenience.
After thawing the berries you can heat them to around 100*. Don’t cook, just heat. Remove the juice you can pour out easily, then hang the remaining berries in cheese cloth to drip into a pan. When the dripping slows to an unproductive rate, give the cheese cloth a gentle squeeze to get the last of the juice.
Raspberry Jelly Recipe
This recipe is different than the jam recipe in a major way. This recipe doesn’t use pectin. You might need to make it a few times to get it just right. If it’s too thin you can use it as pancake syrup, on ice cream or in smoothies. It won’t be what you were aiming for but it won’t go to waste.
4 cups raspberry juice
1 1/2 pounds sugar
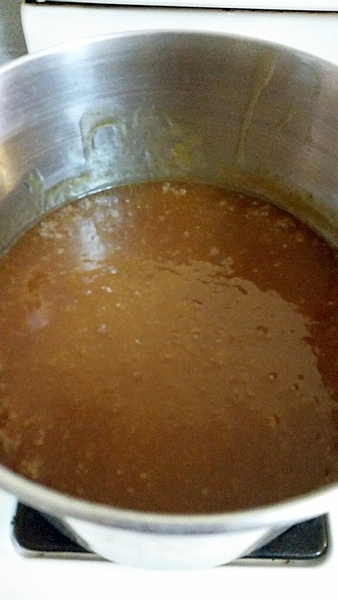
Mix together. Heat to a gentle boil. Skim off any foam that settles at the top. Continue to boil for 20 to 30 minutes. When your spoon is lightly coated the jelly is ready to be jarred. Ladle into hot, sterile jars, leaving a 1/8″ head space. Wipe the rim clean, place lids and rings on, tightening the rings to “finger tight.” You want it tight enough to keep water out but loose enough to let air escape during the hot water bath.

