How to Plant Garlic

How to Plant Garlic

In Planning Ahead to Plant Garlic we wrote about preparing the soil before it was time to plant garlic. The time has come. Here’s how to plant garlic! It’s a little consuming but it’s not at all difficult. You’ll need part of a day when it hasn’t been raining. You want the soil to be moist but not wet. Garlic needs time to settle into the soil and establish roots but not so much time that it can sprout before the soil freezes.

You’ll need:

  • Garlic
  • Dibble or dowel
  • Straw
  • Compost or fertilizer

[subscribe2]

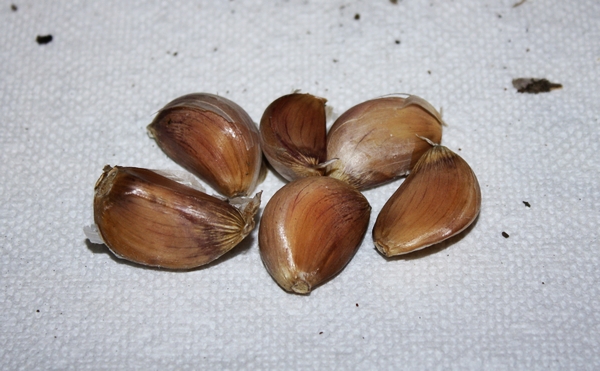
Sort through your garlic bulbs ahead of time. Separate the bulbs into cloves, discarding any that are spoiled or too small. Starting with large, healthy bulbs will get your future garlic harvest off to a good start.

how to plant garlic

Discard cloves that are too small or diseased

Amend the soil. Garlic is a heavy feeder. Add a two to three inch layer of compost to the soil and work it in. Or, add three pounds of 10-10-10 fertilizer to a 100 square foot area to the soil and work it in.

Mark two inches on the dibble or dowel to eliminate the guessimating. If you’re like me you’ll carefully poke the dibble in the recommended one to two inches at first, then you’ll realize how long it’s taking and just start poking. “Close enough” ends up too deep. As long as my dibble is marked I’m good to go.

Poke one to two inch deep holes in the amended soil, three to five inches apart. Rows should be 12″ to 18″ apart.

The pointed end of the clove is the top. The flat end is the root end. Drop one clove in each hole. I’ve found it faster to poke all of the holes I can reach at once, plant the cloves, then cover the hole than it is to do each one step by step by step. Do whatever works best for you, the garlic doesn’t care as long as it lands right side up.

How to plant garlic cloves

Garlic cloves

Cover the holes and water the soil deeply. This is the first and last time you’re going to water the soil this year so be generous with the water.

Spread a six inch layer of straw over the rows. The straw helps to insulate the soil and prevent heaving caused by frost. I mulch the space in between rows as heavily as I do the actual row. Garlic doesn’t like competition from weeds. If there’s going to be high wind or it’s not going to rain within a day or two I water the straw to weight it down and hold it in place. A slow spray will allow the water to soak in without running off.

If you can’t find straw you can use hay. Hay might add a few seeds to the soil but it will prevent more seeds from germinating so it’s worth the trade off. I tried mulching with leaves one year. It seemed fine in the fall but the cloves had a hard time breaking through the matted leaves in the spring. I had to pull them back to free the bulbs.

And now you wait. You shouldn’t have to do anything with your garlic until spring.


Our Favorite Grouse Recipes

Our Favorite Grouse Recipes

After writing Seven Tips to Improve Your Grouse Hunt last week it’s time to share some of our favorite grouse recipes. Grouse, also known as partridge, cooks up quickly. The birds are small so one grouse feeds one or two people.

Grouse looks very much like chicken but is a little darker in color. It often tastes like the bird’s diet. We cooked two last year that tasted a lot like pine. It wasn’t very good when the meat finished cooking so I seasoned it heavily, added water and used it in fajitas. I’ve cooked two dozen grouse a year for 20 plus years, and that was the first time I found the flavor to be unpleasant. We don’t waste meat so we made it work.

If you missed any pellets in the meat while cleaning the bird you should be able to see and remove them easily before you start cooking.

Seasoned Grouse Meat

grouse recipes, partridge recipes

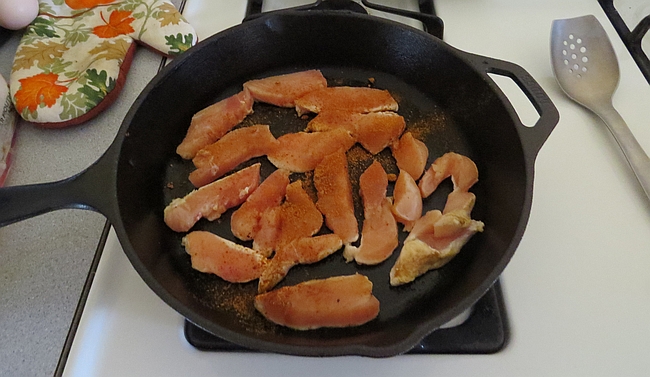
Sliced grouse breast

Lightly oil the fry pan and place the grouse so that a full side of each slice touches the pan. Sprinkle with taco or fajita seasoning. Turn heat onto medium high and cook until the meat starts to brown. Stir to turn the pieces and flatten them on the pan again. Cook two or three minutes more.

Variations:

  • add additional seasoning and water to create a sauce
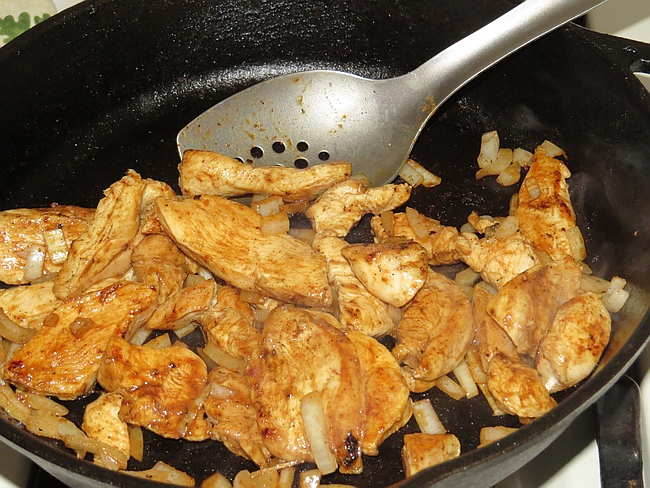
  • add sliced onions and/or bell pepper at the beginning of cooking

You can use the seasoned meat in fajitas, grouse salad (like chicken salad) or on top of a leafy salad.

Grouse recipes

Seasoned grouse meat

Roast Grouse

One grouse per person, whole
1 tsp fresh thyme per grouse
2 slices bacon per grouse
salt and pepper to taste

Sprinkle thyme, salt and pepper inside of a whole, washed grouse. Place on a baking sheet with breast side up. Cut bacon slices in half and place on top of the grouse. Bake at 350* for 20 minutes. The birds are small and wild birds cook quickly. This is excellent served with mashed potatoes and wild fall mushrooms or winter squash.

Grouse Caccitore

3 or 4 grouse breasts, halved
1 quart stewed tomatoes
1 tsp fresh or 2 tsp dried oregano
1 small onion, chopped
1 small bell pepper, any color, sliced
1 large garlic clove, minced
1/4 cup water

Place all ingredients in a slow cooker. Turn to low heat and allow to cook eight hours. Serve with wild rice and a vegetable.

Grouse is a nice addition to a pot of baked beans. Place the deboned breast meat on top of the beans during the last hour of cooking.

Camp Fried Grouse

A lot like fried chicken, but better! This is a popular grouse recipe during bird camp. Bag limits determine how many grouse you can possess at one time so we usually eat what we shoot so we can keep hunting, and take home the birds we bag in the last two days.

3 grouse breasts (again, one bird equals one breast)
2 eggs, scrambled
2 cups seasoned bread crumbs
Bacon fat

Warm the bacon fat in a cast iron pan. Dip breasts in eggs first then bread crumbs. Allow to sit in crumbs for two or three minutes. Shake off the excess crumbs and pan fry in bacon fat.

Seven Tips to Improve Your Grouse Hunt

Tips to Improve Your Grouse Hunt

Hunting was one of the most important skills homesteaders could have back in the day. Before factory and even small local farms were common, hunting was the most important means of putting meat on the table and in the larder. For many of us, it’s still very important. We have seven tips to improve your grouse hunt that you might find helpful.

When most hunters talk about “hunting season” they usually mean deer – whitetail, blacktail or mule (muley). While one deer can put a considerable amount of meat on the table, birds can do their share to fill the dinner plate. Grouse, also called partridge, is a popular upland game bird.

improve your grouse hunt

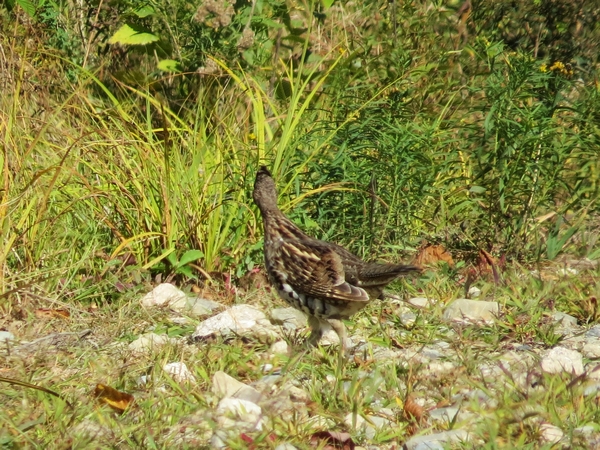
Ruffed Grouse

Grouse are tricky. The blend into the brown grass on the sides and middle of gravel roads. They stand in grass taller than they are and are often first spotted when they burst into the air and fly away. Hunting with dogs adds to the success rate but not everyone has a bird dog. There are ways you can improve your grouse hunt.

Suitable shotguns for grouse include 12, 16, 20 and 28 gauge. I started with a youth model (more  on that in a moment) 20-gauge and was quickly discouraged. My hit to miss ratio was pathetic. I needed to be closer to the birds than I could usually get before they flew into the trees. I now hunt grouse with a 12-gauge. I use 2 3/4″, No. 6 game shot.

A few things to do and remember before you get started: Safety first. You’ll probably have to take a hunter safety course before you can obtain a hunting license. Choose a gun you are comfortable carrying and shooting. Try as many guns as possible.If you are of slight build, try a youth model. They’re made for smaller people. Become a safe, accurate shooter. Practice often in a safe area. Rod & Gun and shooting clubs often make their facilities available for use. Hire an instructor if necessary.

These tips should help you improve your grouse hunt.

  1. Look for the brown that doesn’t belong. Grouse blend into dead grass and debris along roadsides. What doesn’t look quite right?
  2. Look in clover. Clover provides protein needed by grouse.
  3. In the early part of the hunting season, look for a second or third bird when you see the first. Later in the season they split up and you’ll usually see only one at a time.
  4. Grouse like mixed stands of trees. Evergreen/softwood and hardwood provide cover and food.
  5. Listen for rustling. Rustling in the dead, dry leaves often means a grouse is moving.
  6. Listen for “quit quit quit quit quit.” It’s the alarm call of a grouse.
  7. Most grouse (also called partridge) are shot within 100 feet. Without a dog to find and flush birds for you, you’ll want to watch the sides and center of gravel roads most often.
improve your grouse hunt

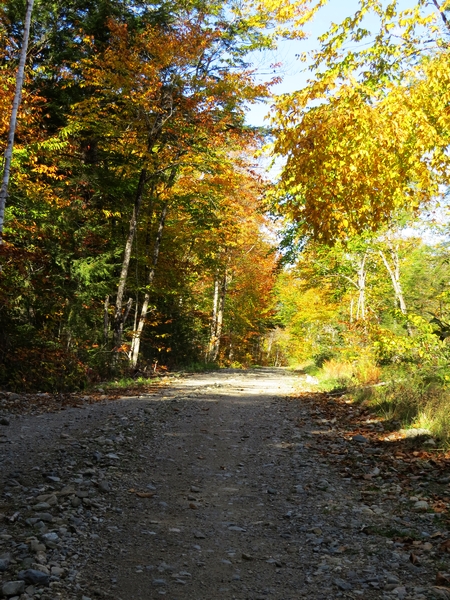
Grouse are often found on the edge of gravel roads.

One more thing to keep in mind. This is easily overlooked. States impose a “bag limit.” You may shoot a certain number of grouse per day. There’s also a “possession limit.” You might be able to shoot four grouse per day every day of the hunting season but be limited to having eight birds, for example.

Good aim and safe shooting!


{this moment} Last Bell Pepper

{this moment} – A Friday ritual. A single photo – no words – capturing a moment from the week. A simple, special, extraordinary moment. A moment I want to pause, savor and remember.

If you’re inspired to do the same, leave a link to your ‘moment’ in the comments for all to find and see.

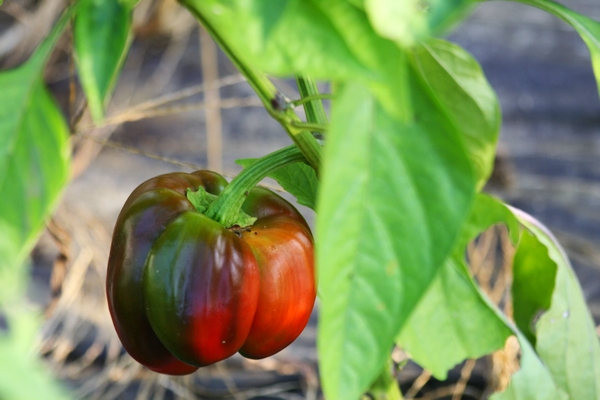
Last of the season.

bell pepper

The last bell pepper of the season

How to Make Popcorn on the Stove

How to Make Popcorn on the Stove

Earlier sunsets lead to earlier evenings which lead to movie and game nights.

Do you flavor your popcorn in a certain way? We love a little homemade butter with grated Parmesan cheese and a sprinkle of Italian seasoning. It’s our current favorite but it changes from time to time.

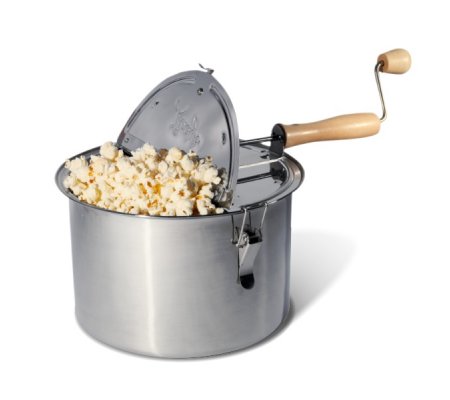
Our stainless steel stove top popper is built to last. The handles stay cool. The lid vents to let steam out to keep your popcorn tender and light.

how to make popcorn on the stove, popcorn popper, old fashioned popcorn

Old fashioned popcorn is the best!

Popping corn on the stove takes only a minute or two more than tossing a bag into the microwave. Stove top popcorn is healthy and tastes yummy, and it’s adaptable to the seasons. I’m thinking of trying one of the Pumpkin Pie spice recipes in last week’s newsletter.

Pour two tablespoons of oil (coconut or olive) into the popcorn popper.

Add 1/2 cup popcorn kernels to the oil.

Place the popper on a burner and turn the stove on to medium to medium-high heat. Stoves vary so much that there’s no absolute setting. From the time you turn the heat on until the last kernels pop should span about three minutes.  Start turning the handle as soon as you turn on the heat and don’t stop until the popping is finished. When more than six or seven seconds passes between pops your corn is done.

Powdered Ranch salad dressing is a great topping. A little goes a long way so one packet will last for at least two cups of unpopped popcorn. Look through your packets of seasoning. There might be a few you can use on popcorn. Taco or Fajita seasoning are great. Try a soup mix like French Onion, but sift out the solid onions first.

Cinnamon toast popcorn is an old time favorite. Mix cinnamon and sugar in a 50/50 blend and sprinkle over hot popcorn.

Back when we ate chips, Salt ‘n Vinegar was a favorite, and luckily it’s easy to make Salt ‘n Vinegar popcorn. Spray malt vinegar on popcorn and sprinkle with salt.

Chocolate popcorn, anyone? Melt semi-sweet or dark chocolate in a double boiler. Pour over popcorn and sprinkle with salt before the chocolate cools and sets.

Once you know how to make popcorn on the stove the possibilities are endless. What kind of popcorn do you like?


{this moment} Applesauce Apples

{this moment} – A Friday ritual. A single photo – no words – capturing a moment from the week. A simple, special, extraordinary moment. A moment I want to pause, savor and remember.

If you’re inspired to do the same, leave a link to your ‘moment’ in the comments for all to find and see.

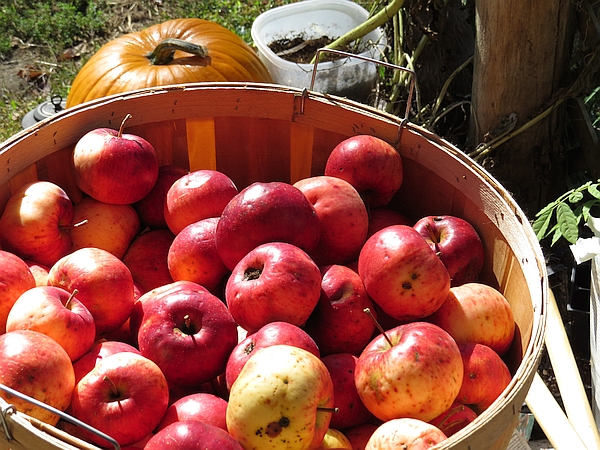
By the end of the day this week’s drops will be applesauce.

Applesauce apples

Future applesauce