Category Archives: How-To

Q&A: What Kind of Lamp Oil Should I Use?

Question  What kind of oil should I use in my lantern?

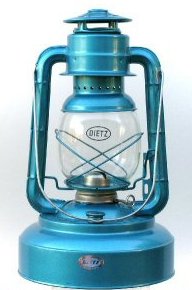
oil lamp

Jerri’s answer  You want a sootless, smokeless, and odorless lamp oil that burns clean. This type of oil is safe to use indoors because it doesn’t give off dangerous gas and won’t leave a residue on room surfaces.

We recommend standard clear lamp oil (no dyes) or “Klean-Heat” Kerosene Substitute.

WARNING!

DO NOT USE PARAFFIN OIL, DIESEL, BIO-DIESEL OR OLIVE OIL!
These are not suitable substitutes for any of the approved fuels because they have a flash point of over 200 degrees Fahrenheit.

You can find lamp oil in places like Walmart or large home improvement stores like Lowe’s and Home Depot.

How to Make Better Butter

Anyone can learn to make better butter!

There are two options in this article: making your own butter from scratch, or improving on the butter you buy. You may ask, why would I want to improve on the butter I buy? Great question!

REAL butter is a wonderful product! Years ago, they used to tell us it was bad for our health, but research has shown otherwise. Today, we know that REAL butter is actually a healthier fat than those manufactured products with chemicals and dyes and hydrogenated molecules that can potentially lead to cancer and heart disease.

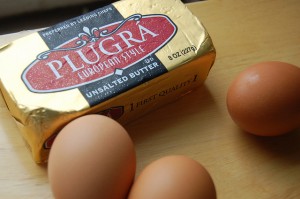
plugra

Now that we know that REAL Butter is good for us, we can teach you how to make it better. This is a project that you can even enjoy with your kids. Basically, it involves creating a variety of flavored butters by adding ingredients like fruits, nuts, spices and herbs. The options are endless and entirely up to your imagination.

So here we go… Continue reading

Beginner’s Guide to Making Yogurt

If you’ve ever tried looking up the instructions for making yogurt on the Internet, you probably became overwhelmed rather quickly by all the different recipes and techniques. It seems like everyone has their own way of doing it. For a beginner, it can be too confusing to sort out what works best–and to anticipate where things might go wrong!

Fortunately, the Homesteader’s Supply staff has come up with a tried-and-true method for making the creamiest, most delicious yogurt ever! Once you try making yogurt our way using any of our yogurt cultures, you’ll never want to eat store-bought yogurt again.

Bavarian_yogurt

A Word about Our Yogurt Cultures

We carry a variety of yogurt cultures, including Bulgarian, Italian, and ABY-2C. The main differences between them are in the flavor and the viscosity. Some are more sweet, and some are more tart. Some are thinner, and some are thicker. If you like a very thick yogurt with a mild, sweet flavor, try our Italian culture.

An Overview of the Process

The process of making yogurt comprises five simple steps:

  1. Heating the milk
  2. Cooling the milk
  3. Measuring and adding your chosen yogurt culture
  4. Incubating the yogurt
  5. Refrigerating the yogurt until it’s sufficiently cooled to eat

Here’s What You’ll Need

You will need the following:

Step 1:  Heat Your Milk

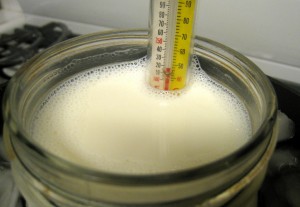
  1. Pour the milk into the stainless steel pot. If using a thermometer that attaches to a pot, making sure the tip of the thermometer isn’t touching the pot. (If using a digital thermometer, follow the manufacturer’s instructions.)
  2. Gently heat the milk on medium until it reaches 180 degrees Fahrenheit.  Then turn off the heat and remove the pot from the burner.

Be careful not to overshoot 180 degrees. It’s better to go slowly rather than to try to turn up the heat too much and then not be able to get the temperature to stop climbing too fast.

Step 2: Cool the Milk

Allow the milk to cool to 115 degrees Fahrenheit. You can do this by allowing the pot to sit on the stovetop (if cool) or counter. Alternatively, immerse the pot in a cold water bath to speed up the cooling process. If you choose to do this, however, be sure monitor the temperature very carefully so the the milk doesn’t cool below 115 degrees!

yogurt_110

Yogurt culture is similar to yeast in that the milk needs to be within a certain temperature for the culture to work properly. If the milk is too hot, it will kill the yogurt culture. On the other hand, if the milk falls below 100-115 degrees, the culture won’t get activated.


Step 3: Measure and Add the Dried Yogurt Culture

The amount of dried yogurt culture you need depends on the amount of milk and the type of culture you’re using. For example, in this recipe we are using two liters/quarts of milk, so we can use one envelope of our dried Bulgarian yogurt culture. If you are using a different type of yogurt culture, be sure to read the package directions to determine how much to you need.

Once you’ve measured out the appropriate amount of dried yogurt culture, add it to the cooled milk as described below.

It’s important to mix the yogurt culture in very thoroughly; otherwise, your yogurt might separate. The most reliable method is to start by sprinkling the dried yogurt culture on top of the warmed milk and letting it sit there for a minute or so until it dissolves. When the dried culture has dissolved completely, mix it into the milk. Make sure the culture is distributed evenly throughout. If you start mixing before the dried culture has completely dissolved, it can clump; and then you won’t be able to mix it in thoroughly.

Step 4: Incubate the Yogurt

It’s important to keep your yogurt as close as possible to the ideal temperature of 105 degrees for at least 10 to 12 (or up to 24) hours so the beneficial, health-promoting bacteria in the culture can multiply. This process is called incubating the yogurt. The longer you incubate the yogurt, the fewer carbohydrates it will have because the bacteria feed on the sugars naturally present in the milk. And, a longer incubation period results in thicker yogurt!

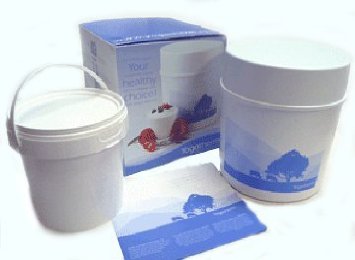
This step is easy if you have a Yogotherm or VitaClay yogurt maker. All you have to do is transfer the yogurt into the provided container and follow the manufacturer’s directions.

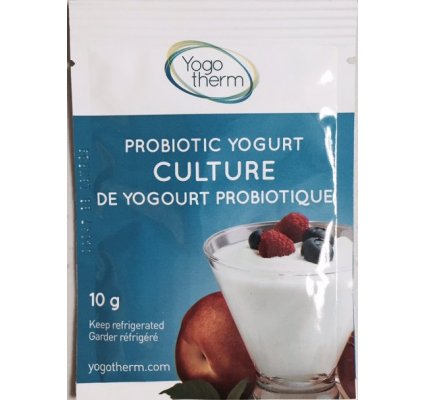
yogotherm

Things can get a little trickier if you don’t have a yogurt maker, but it’s still relatively easy to set-up your own incubator environment using readily available supplies. Be sure to transfer your yogurt into an appropriate container first! Large Mason jars are a good choice,

We recommend insulating the container of yogurt with towels and placing it in a cooler to keep the heat from escaping. You’ll want to fill any extra air space in the cooler with additional towels (or clean rags) to maximize the insulation. Then, set the cooler in a very warm place.

Ideally, you want to keep the temperature of the yogurt as close to 105 degrees as possible during the incubation period. Under normal conditions, the temperature will drop very slowly over time. It probably won’t fall below 80 degrees, though, and that’s okay.

Step 5: Refrigerate the Yogurt

When the incubation period is over, your yogurt is ready to be refrigerated. If you’re using Mason jars, be careful the temperature doesn’t drop too quickly or the jars might crack.

Allow your yogurt to cool in the refrigerator for at least six hours. During this period, the yogurt will thicken. If the yogurt has separated, you can stir the liquid back in.

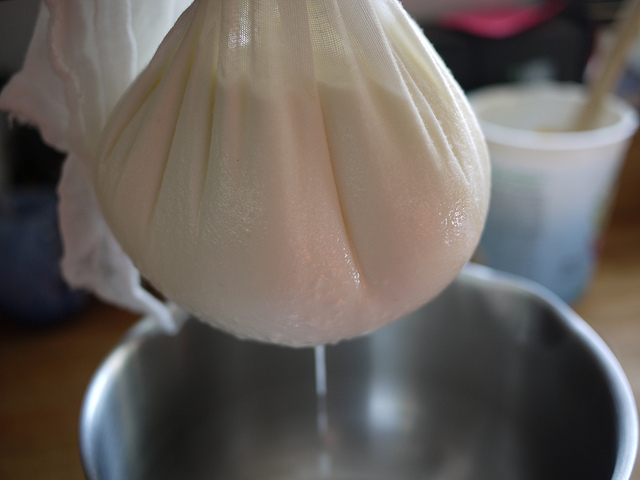
For thicker yogurt, you can drain off some of the whey. The easiest way to do this is by using cheese cloth to strain it. You can put the yogurt in cheese cloth and hang it over your kitchen faucet, or suspend it over a bowl and let it drain until the yogurt becomes very thick. If you let most of the whey drain out, you’ll end up with delicious yogurt cheese! Simply scrape the yogurt off the cheese cloth, whip it until it becomes very smooth, and then add herbs, spices, honey, or whatever flavorings you like. Place it in the refrigerator to cool, and in a few hours you’ll have scrumptious yogurt cheese! It’s delightful on crackers, with chips, on sandwiches, etc.

yogurt cheese

Incidentally, some folks like to thicken yogurt by adding a few tablespoons of powdered milk before heating the milk; however, some experts claim that powdered milk has damaged proteins and recommend avoiding it.

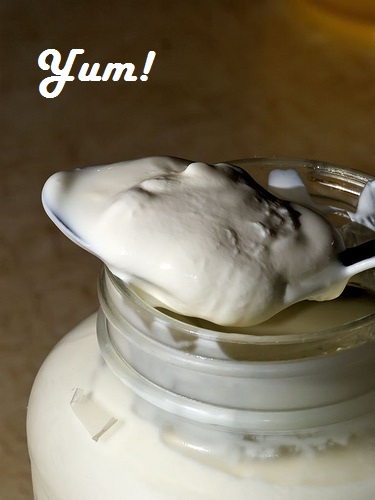
When your yogurt is nice and cool and has reached the desired consistency, it’s ready to eat. You can enjoy it with fruit or whatever flavorings or sweeteners you like.

yogurt_spoon


How to Buy the Best Produce without Blowing Your Budget

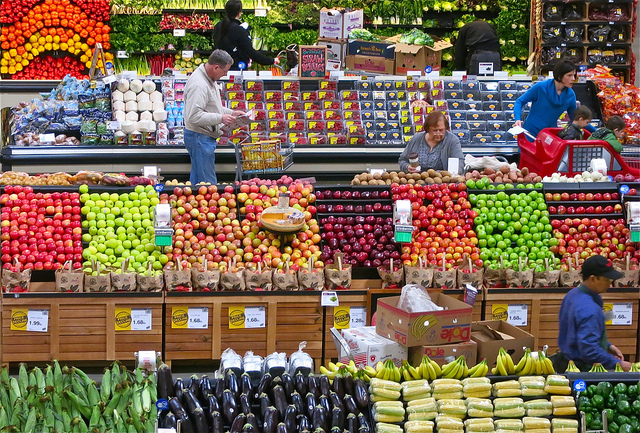
Unless you’re a hard core proponent of the local food movement and never eat anything that was grown outside your immediate area, you’ll find yourself cruising the produce aisle at the supermarket from time to time, especially now that gardening season is winding down. If you grow your own food, you will probably be looking for products that were produced using sustainable and organic practices.
14961829054_25677820ef_z

Unfortunately, depending on the time of year and where you live, the selection of organic fruits and vegetables can sometimes be downright pitiful or prohibitively expensive. What do you do when you can’t find what you’re looking for, or when the item you want costs more than you can afford to pay?

Do you know how to choose the highest quality foods from the available selection? Or do you get frustrated, grab just “whatever,” and then pray it doesn’t harm your health?

If you’re discerning about the quality of the fruits and vegetables your family eats, you need to become a savvy produce shopper.

Navigating Supermarket Produce Aisles
organic_apple_label

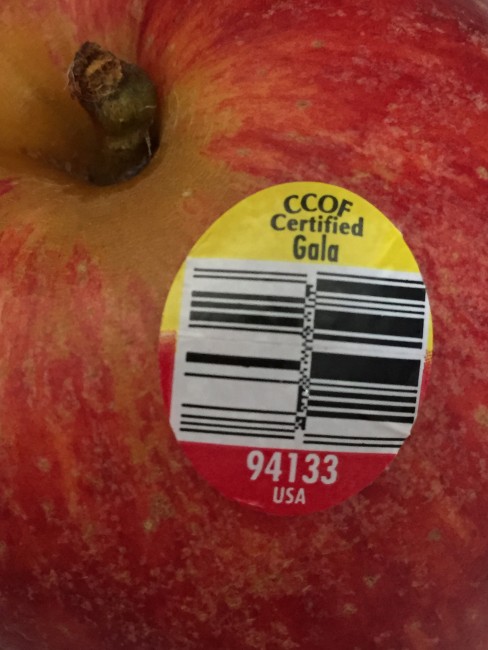
You’ve undoubtedly noticed the little stickers with four- or five-digit numbers on them that supermarkets put on individual pieces of produce. These stickers sometimes also identify the variety; for example, an apple might be marked “Gala” or “Fuji.” (Bins containing bulk items, such as granola and nuts, are often similarly labeled.)

The numbers on those stickers are PLU (Price Look Up) codes randomly assigned by the International Federation for Produce Standards (IFPS). When cashiers ring up your order, they key in these codes to identify the item being weighed or measured.

If you know what these codes mean, you can tell how (and sometimes even where) the food was raised. For instance, a PLU code can tell you if that head of lettuce you’re holding is organic or conventionally grown.

Deciphering the PLU Codes on Produce Stickers

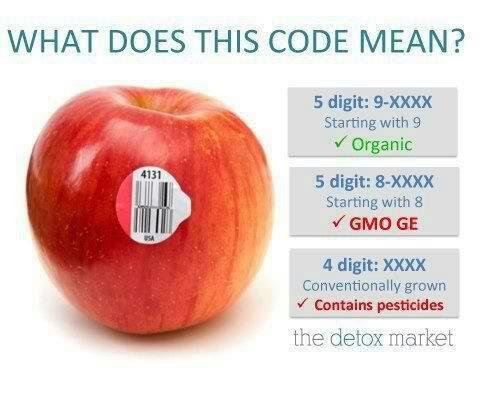
PLU codes can have four or five digits and start with the numeral 3, 4, 5, 8, or 9.
8425394118_1b757e0504_o

Four-digit PLU codes beginning with 3 or 4 denote conventionally grown produce. For instance, conventionally grown Fuji apples like the one in the photo above are assigned the PLU code 4131.

PLU codes beginning with 5 identify transitionally grown produce. This means the food was grown under conditions that meet organic standards, but for which the certification process has not yet been completed. A 5000 series PLU code can also mean the produce was grown on land that has not been free of chemical usage for the required length of time (36 months) before it can be classified as organic.

Both 8 and 9 are used as leading digits in five-digit PLU codes. In other words, 8 and 9 are prefixes to standard four-digit PLU codes and have special meanings that provide additional information about the item.
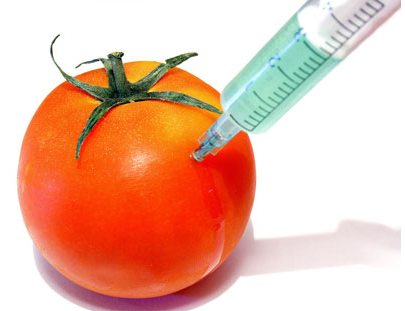
5189399089_c6ee3e62ec_oA standard four-digit PLU code prefixed by an 8 indicates the item is a Genetically Modified Organism (GMO) containing genetic information from an entirely different species. Very little is known about the possible long-term effects of eating GMO foods. For this and other reasons, many people choose to avoid GMO foods altogether.
3759753230_1e8f9174d9_o

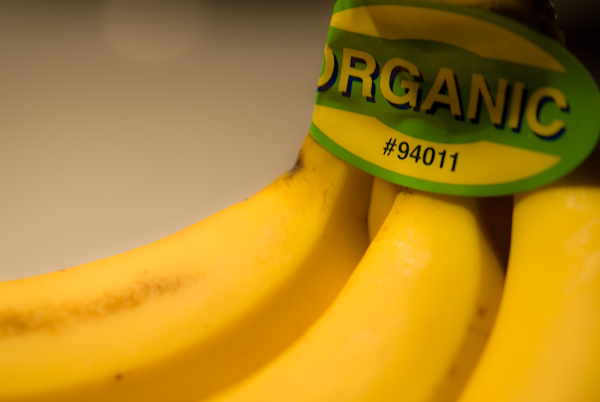
A five-digit PLU code that begins with a 9 indicates the item is organic

They Don’t Want Us to Know It’s GMO

Okay, let’s assume you know how read PLU codes. Can you now feel confident you’re making the safest choices for your family and not drive yourself crazy worrying if the product you’re buying might be loaded with pesticides or if it’s a Genetically Modified Organism (GMO) food engineered in a laboratory? Well, maybe. Read on!

Although this labeling system seems straightforward on the surface, herein lies the rub:

Because PLU codes aren’t mandatory, companies can label GMO foods as conventional.

The truth is, unless it’s labeled as certified organic, most of the corn, soybeans, canola, cotton, papaya, and squash being sold today is genetically modified.

According to Consumer Reports, an estimated 60 to 70 percent of foods, including packaged goods, contain genetically modified ingredients. Dreadful, isn’t it?

412798106_f6f4497749_z

Even worse, you will rarely see a PLU code that begins with an 8 because GMO awareness is rapidly gaining traction and manufacturers are afraid that labeling GMO foods will impact their profits. And they can get away with it because the FDA has determined that GMO’s are substantially equivalent to their conventional counterparts. According to our government, there’s no difference between conventional and GMO foods, despite the fact that plenty of studies show otherwise.

How to Be Confident about What You’re Buying

Even though PLU codes can’t be trusted entirely, there are a few ways to ensure the produce you’re buying isn’t genetically modified. You can choose

  • Items labeled 100% organic or certified organic
  • Items labeled GMO-free
  • Items with PLU codes that begin with a 9

But what can you do when the selection of organic produce is slim to non-existent?

Fortunately, the Environmental Working Group’s (EWG) “Shopper’s Guide to Pesticides in Produce” is a terrific resource that can help simplify decisions at the grocery store.

ewg

EWG singled out the produce with the highest pesticide loads for its Dirty Dozen™ list. These are the foods you want to AVOID at all costs.

Similarly, EWG’s Clean Fifteen™ lists the produce that’s least likely to hold pesticide residue. You’ll notice a lot of these items have thick or layered skin, like onions, avocados, and pineapple. These are foods you can feel good about buying when their organic counterparts aren’t available.

Clean Fifteen foods are also a safe bet when you want to shave some money off your grocery bill or need to stay within a tight budget.

So, as you can see, labeling laws are sneaky and interpreting the PLU codes on fruits and veggies is a bit trickier than reading the labels on canned and boxed products found on supermarket shelves. But, as a savvy shopper, you can feel confident you’re buying the very best quality produce available without breaking the bank.

By the way, if you sign-up on the EWG website, they’ll send you a PDF version of their Guide for free. If it’s more convenient, you can access the Dirty Dozen and the Clean Fifteen using these resources too:

Authored by Anna Paige.