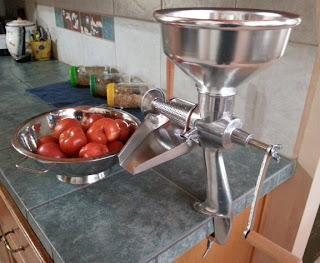
For your new homestead Mark and Tonya!!!!
With summer’s closing just around the corner, it’s time to consider what to do with all of those beautiful herbs and vegetables that you’ve grown in your garden. The tender sweet basil, ripe juicy tomatoes and the wonderful chives can be dried or preserved to enjoy through the winter months. How you preserve your food depends greatly on which type of vegetable it is and how you’d like to use it in the future.
Herbs are absolutely wonderful freshly cut from the plant. Fresh pesto made from basil or fresh rosemary sprinkled over chicken and if harvested and dried properly, you can enjoy that same taste through the win ter. Dehydration can be done with low heat or simply air dried. I’ve used both and prefer the air dry method for peppers, which I thread through the stem and hang to dry in the least humid part of the house. Leafy herbs, fruit slices and even small peppers are also easily dried with air. A netted drying rack works great. This type of dehydration unit has trays with holes for air flow and the netting keeps pests out, even fruit flies. The best part, it doesn’t have to be plugged in! There are several types of electric free dehydration units, but if jerky is desired, a low heat electric unit is best.
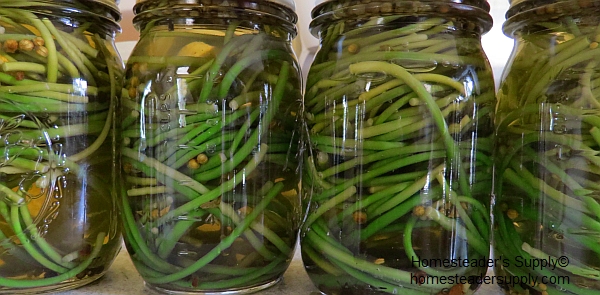
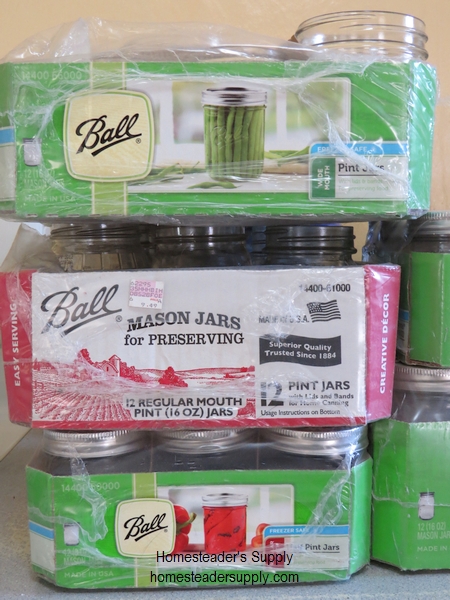
The next type of preservation is canning. Canning can be accomplished by water bath or pressure cooking. Both methods use high temperatures to create a vacuum seal preventing air and bacteria from forming on the food. Water bath canning is for high acid foods such as tomatoes, fruits, cucumbers in salt brine, pickled beets, etc…  Pressure cookers are for any foods which have a very low acid content. Meats, beans, corn and other low acid foods are pressure cooked. Canning is a very demanding chore and probably the most rewarding. There is something very warming to the spirit to see a cupboard full of jars of food. Reminds me of summers at my grandparent’s place, putting up cherries, tomatoes and green beans.
In addition to canning, many of the same vegetables can be blanched and frozen. I prefer to blanch and freeze green beans and spinach. I have also sliced up the over abundance of summer squash and once blanched, it’s ready for casserole dishes, stews or zucchini bread. Blanching is simply submerging the vegetables in boiling water for a specific time (depending on the vegetable but usually a minute or less). Once the time is up, submerge the vegetables into ice water until cool and then strain off the water. The vegetables can be placed into freezer Ziploc bags or freezer containers. Remember it’s always best to double bag when freezing any kind of food to prevent freezer burn.
Before the inventio n of modern day canning or ice cold freezers, vegetables were preserved by fermentation. Typically, you think of sauerkraut when you think of fermented vegetables, but most any vegetable can be fermented. When you ferment or culture foods, you make them a healthier food!
Lacto-Fermented foods are those that have been cultured by beneficial organisms. In the right conditions, beneficial organisms feast on the food, producing beneficial acids, and transforming the food into something better, containing all the original vitamins, enzymes, and now active cultures — conveying benefits to your gut, your immune system, and your digestion. This culturing develops complex flavors and pleasing textures, while the food becomes more nutritious than it was before. And the acids preserve and protect the food from spoiling. It is really a miraculous process!
Fermenting foods covers a lot more than sauerkraut! Did you know you can ferment fruits, vegetables, beans, meats, dairy, and grains? You can even ferment condiments like mayonnaise. And there are many ways to start the culture for your fermenting process… salt brine, whey, dairy cultures, water kefir and more. I made a batch of fresh organic beets in a salt brine and was so surprised that there was NO salty taste in the beets, just very swe et, crunchy, delicious, and healthy. At Homesteader’s Supply we were so intrigued with this process we started producing our Pickle-Pro! It comes with a free recipe for 5-Spice Apple Chutney. The principle is similar to the old fashioned fermenting crock process, except not only is there a water seal to keep air from getting in, but also allows for the escape of the gases produced. I’m guessing that this is why we don’t get the mold on the top which is common with using jars and crocks. It is also so much less expensive, which means you can have multiples always going at the same time. The process only takes about 3 days of fermentation on your kitchen counter. And the best part is that you don’t have to ferment everything from your garden right away. You can preserve in other ways, like freezing, canning, and then ferment just the amount you want when you want.

