A fall garden has a lot of advantages. Perhaps best of all is that the cooler weather lets you plant your favorite early spring crops again, so you can enjoy them twice in the same year! You don’t need to contend with as many bugs, either. It’s more comfortable to be outdoors, for both you and your plants. Veggies won’t bolt quickly the way do in the intense heat of summer. Some folks even say the frost brings out more flavor in certain crops. And then, depending on where you live, the harvest season can extend until quite late in the year.
If you’ve never planted a fall garden before, here are three things to consider before you start.
#1 Look Up Your First Fall Freeze/Frost Date
This is the date, on average, when you can expect to see the first freeze or frost of the fall season in your area. Knowing this date helps you determine what types of crops you still enough time left to plant. The easiest way to find your freeze/frost date is by heading over to Dave’s Garden and entering your zip code in his Freeze/Frost Calculator. The calculator gives you detailed information about the growing season in your area.
#2 Decide Which Crops You Want to Plant
Perhaps it would be more accurate to call this step, “Decide Which Crops You Still Have Time to Plant.”
Crops mature at different rates. For example, you can harvest arugula within 30 to 40 days after planting; but, carrots can take up to 75 days to mature. In general, leafy greens mature faster than other types of vegetables. So, for instance, if you were to plant leafy greens and root vegetables at the same time, the greens would be ready to harvest long before the root vegetables.

A great variety of vegetables grow well in cooler temperatures. Below is a partial list of the most common ones and the average number of days to maturity for each. As a rule, the amount of time a crop requires to mature depends primarily on the maturity characteristics of the variety and the climate conditions where the crop is grown.
- Arugula (30-40 days)
- Beets (50-65 days)
- Broccoli (60-70 days)
- Cabbage (50-65 days)
- Carrots (55-75 days)
- Cauliflower (65-75 days)
- Collard greens (55-60 days)
- Kale (45-60 days)
- Kohlrabi (55-65 days)
- Lettuce (45-60 days)
- Mustard greens (30-50 days)
- Onion, green (55-60 days)
- Radish (25-40 days)
- Spinach (37-50 days)
- Swiss Chard (50-60 days)
- Turnip (45-60 days)
Incidentally…your local extension service can provide a list of the fall vegetables that can be grown in your region, and the average days to maturity for each. If your extension service has a website, try to get on their mailing list to receive newsletters and any other information they might send to their subscribers.
Vegetables need enough time to mature before the first fall frost. When deciding which crops to plant, you need to work backward from this date to determine when to start seeds for crops that will mature as it gets cold. So, grab a calendar and start counting! Obviously, the earlier you start, the less limited your choices will be. (More on this later.)
For optimal results, choose short season crops for your fall garden. Although it’s possible to start your plants from seeds, it’s not ideal to do so. To ensure the best outcome, try to start your fall garden with plants.
Remember, however, that those time-to-maturity tables assume the plant is being started from seed. If you start with plants, you’ll be able to harvest sooner. That’s one of biggest advantages of starting with plants. Another major advantage is that plants are hardier than seeds and have a better chance of survival in cool temperatures.
#3 Prepare Your Garden Beds
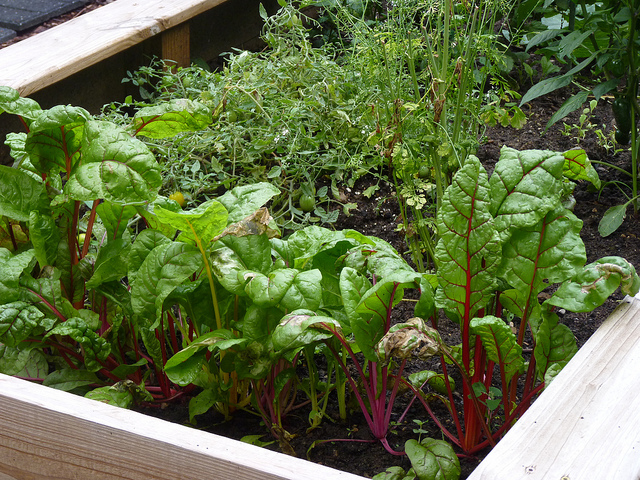
Fall is a good time to try a raised bed garden, for several reasons. Fall weather tends to be wet, and raised beds provide better drainage. For excellent drainage, experts recommend raising the beds to a height of eight inches. Raised beds also help prevent rot because rain doesn’t get a chance to pool and accumulate during the wet season. Consequently, plants don’t get over watered.
If you decide on raised beds for your fall garden, fill them with a mixture of native soil and compost. You may use other types of organic soil amendments instead of compost, if you prefer.
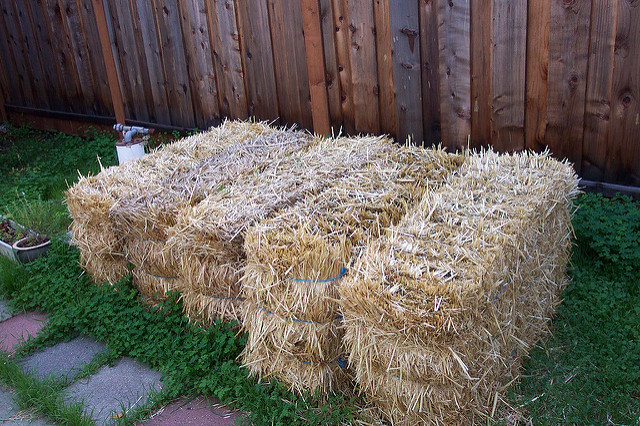
A straw bale garden is another good option for fall gardens. If you’re not lucky enough to live near a farm, you can get straw bales at your local garden center.

Straw bales need to be conditioned to get them ready for planting. Conditioning speeds up the decomposition process. Before you do anything, though, make sure the bales are placed where you want them because they will be too heavy to move later.
The “correct” method for conditioning straw bales is be a hotly debated topic in gardening circles. Sometimes, it seems like there are as many methods as there are experts! At Homesteader’s Supply, we’ve had good success using the method described in our blogpost on gardening with straw bales.
It takes about 10 to 14 days to condition a straw bale properly. The internal temperature of the straw bale will get very hot while it’s composting. Gardeners call this process “cooking.” Be patient and wait until it’s done cooking; otherwise, the heat will kill your plants.
And so, now you know how to determine what types of veggies you can plant in your fall garden, when to plant them, where and how to plant them, and when to harvest them. Are you ready to get started? We wish you the best of luck with your fall garden!
Please feel free to ask questions or share your fall gardening experiences in the comments section at the bottom of this page.
