Sprouting Wheat Berries
Thanks to Ida Walker from The Enabling Cook for guest blogging with us this week! Ida is sprouting wheat berries and leads us through the process, step by step.
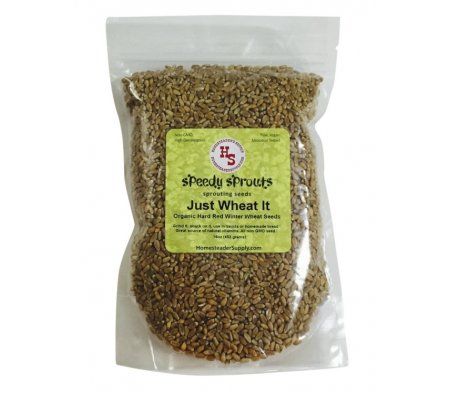
For many of us who bake our own breads, the next logical step is to grind our wheat into flour. And once we start grinding our own, it’s on to sprouting. Many of us sprout pea shoots, mung beans, radish greens and the like, but we may not have thought about sprouting wheat berries for our flour. Though I have to confess my motivation for trying many things do not revolve around health benefits. But if I can get some benefits, why not? Nutrients, like vitamin C, are added when wheat berries are sprouted. Some people who have difficulty with wheat find products made with sprouted grains more tolerable. According to some experts, whole wheat or partial whole wheat bread is fluffier when made with sprouted grains than all regular, whole wheat flour.
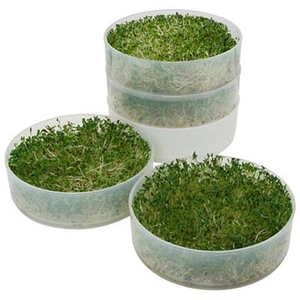
Rinse the berries well, and put them in your sprouting container of choice. No metal, please. You can buy special equipment called sprouters. Since I’m a canner, I always have wide-mouth jars on hand. So I bought a sprouting lid that fits most such jars. You don’t need a special lid, though. You can always cover the opening with a clean piece of nylon stocking or cheesecloth. Add the jar ring, and you’re set. If you don’t have canning jars, you can put the seeds in a colander set in a bowl. Be sure to cover it with a clean towel or cheesecloth. sprouting wheat berries
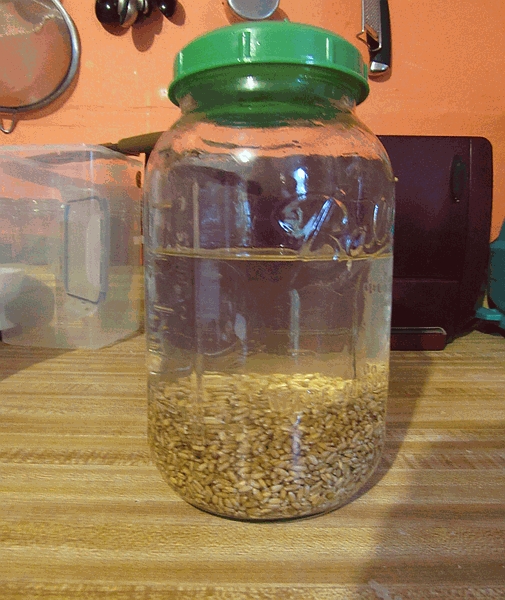
Once you have your container, add the wheat berries. Make sure to leave space for expansion. I filled the quart jar about 1/3 of the way. Then cover with filtered or spring water. The next day, drain your berries and fill the jar with clean water, to the shoulders of the jar (if using). Because the water will be draining, you don’t need to use filtered water. Unless your tap water is suspect, it’ll do just fine. sprouting wheat berries
Drain the berries and rinse. If you’re using a colander, cover the berries and set over the bowl. If you’re using a jar, pour enough water into the jar to cover the berries by about 2 inches. Put on a lid and slosh (technical term) back and forth a couple of times. Set up the jar so it’s at an angle, which will let the water drain. I usually set mine in the sink, but since it was otherwise occupied, I put it in a large bowl. You’ll need to shake the jar a bit so more of the berries are exposed. Make sure they don’t block lid. Drain and refill 3 or 4 times each day; if you’re using a colander, you may need to do so more often. Your goal is to prevent the berries from drying out and to expose as much surface area as possible. sprouting wheat berries
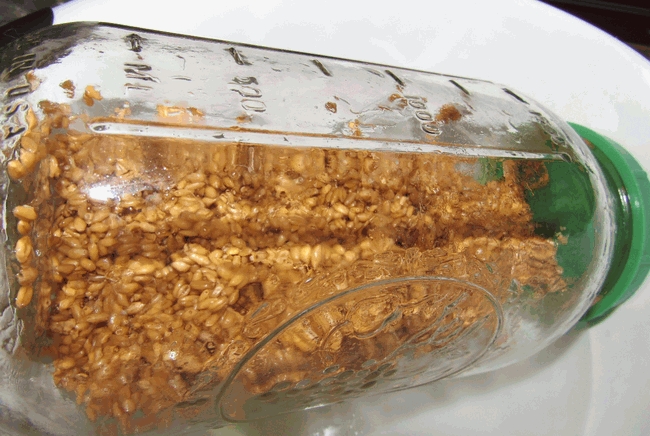
Sprouting complete
So when are they ready? They’re ready when the tails are still short, about 1/8 of an inch. If you’re using them for salads, etc., they can be longer. But if you’re planning on using the seeds for flour, keep them short. You’ll get more flour if you do not let the tails grow longer. How long does it take? It depends. This time it only took a couple days. In the winter, it takes longer, but then I have a really cold kitchen. sprouting wheat berries
If you’re going to use these sprouted berries for flour, the next step is drying. This can be done in a 150-degree oven or in a dehydrator. I used the latter at 95 degrees. It took about 2 hours at that temp, and I had the trays full of berries. sprouting wheat berries
Once the berries are dry, there are 2 options. You can put them in an airtight container and freeze them for later grinding. Or, if you’re like me and figure you’ve waited long enough, grind away! Use your grinding implement of choice. If you’re using an electric mill or blender, the berries will get heated in the process. Many, including me, put the berries in the freezer for a while before grinding.
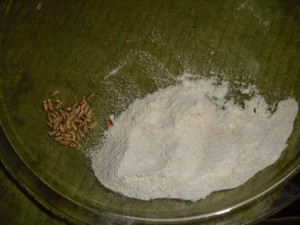
How much flour will you get from your berries? The amount of flour your berries will provide depends on how finely you grind them. From 606 grams of berries, I got 600 grams of flour. Not a bad return! Store any newly milled flour in a bag or airtight container in the freezer. I use a vacuum sealer. sprouting wheat berries
This process was fun. Seriously. The hardest part was waiting for the seeds to sprout. It’s worth the wait, however, as I have organic sprouted flour for my bread.
Thank you again, Ida! Please be sure to visit Ida at The Enabling Cook. You’ll love her website, recipes and tips.

